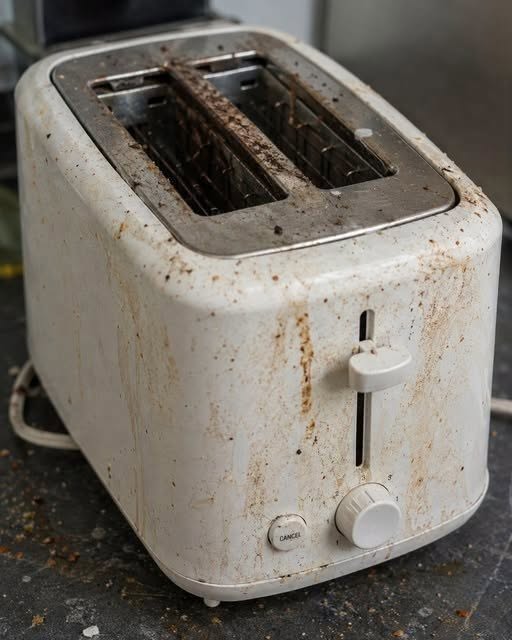
Your toaster can collect crumbs, grease, dust, and burnt food over time. Learn how to clean it safely and keep your toaster fresh without damaging the appliance.
Your toaster probably looks clean from the outside.
But inside those narrow slots, crumbs and tiny pieces of burnt bread can quietly accumulate for weeks—or even months.
Every time you make toast, more crumbs fall into the bottom. Eventually, the toaster can become surprisingly dirty, and accumulated crumbs may even create a fire risk.
The good news is that cleaning your toaster doesn’t have to be difficult.
Why Does a Toaster Get So Dirty?
Toast naturally sheds small crumbs while it cooks. Those crumbs fall through the slots and collect inside the appliance.
Over time, you can end up with:
- Bread crumbs
- Burnt food particles
- Flour and grain residue
- Grease from certain foods
- Dust
- Small pieces of debris
If the toaster isn’t cleaned regularly, the buildup can become significant.
Step 1: Unplug the Toaster
Before doing anything else, unplug the toaster from the electrical outlet.
Don’t attempt to clean the inside while it’s connected to power.
Also give the toaster enough time to cool completely if you have just used it.
This is the most important safety step.
Step 2: Empty the Crumb Tray
Many modern toasters have a removable crumb tray at the bottom.
Slide it out carefully and empty the contents into the trash.
Wash the tray with warm water and a small amount of dish soap if the manufacturer’s instructions allow it.
Make sure the tray is completely dry before putting it back.
Step 3: Turn It Upside Down
With the toaster unplugged and cool, carefully turn it upside down over a sink or trash can.
Gently shake it to release loose crumbs.
Don’t hit the toaster aggressively against a counter or sink. Hard impacts can damage internal components.
A gentle shake is usually enough to dislodge loose debris.
Step 4: Clean Around the Slots
Use a soft, dry brush to remove crumbs that remain around the openings.
An old, clean pastry brush or soft cleaning brush can work well.
Avoid putting metal utensils, knives, forks, or other conductive objects inside the toaster.
Even when unplugged, you don’t want to damage the heating elements or internal components.
Step 5: Wipe the Outside
Use a slightly damp cloth to clean the exterior.
For greasy areas, a small amount of mild dish soap on the cloth can help.
Don’t spray cleaner directly into the toaster.
Moisture should never be allowed to enter the electrical components.
What You Should Never Do
There are a few cleaning mistakes worth avoiding.
Never clean a toaster while it’s plugged in.
Don’t pour water into it, immerse it in water, or spray liquid into the slots.
Don’t use knives, forks, screwdrivers, or other metal objects to scrape inside.
And don’t attempt to disassemble the toaster unless you’re qualified to do so and the manufacturer specifically provides instructions.
How Often Should You Clean It?
If you use your toaster every day, checking and emptying the crumb tray regularly is a good habit.
A deeper cleaning can be done periodically depending on how often you use the appliance and how many crumbs it produces.
If you notice a strong burning smell, excessive smoke, damaged wiring, sparks, or unusual behavior, stop using the toaster and have it inspected or replace it.
A Small Cleaning Habit Can Make a Big Difference
Your toaster may be one of the most overlooked appliances in the kitchen.
You clean your counters, wash your dishes, and wipe your stove—but the toaster can quietly collect weeks of crumbs underneath.
Taking a few minutes to empty the crumb tray and remove loose debris can help keep the appliance cleaner and reduce accumulated food debris.
The Bottom Line
Your toaster probably isn’t as clean inside as it looks from the outside.
Fortunately, keeping it clean is simple: unplug it, let it cool, empty the crumb tray, gently remove loose crumbs, and wipe the exterior.
A few minutes of regular maintenance can help keep your toaster cleaner, working properly, and safer to use.