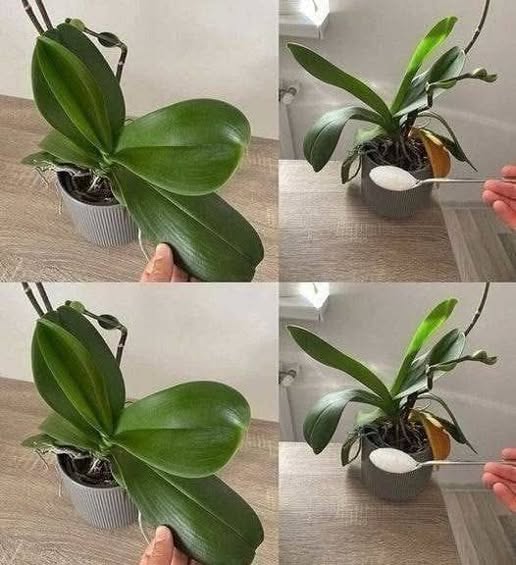
Learn why orchids often benefit from light, regular fertilization, how much fertilizer to use, when to feed your orchid, and how to avoid common mistakes that can damage the roots.
Orchids can look delicate, but they are surprisingly resilient plants. One of the biggest mistakes growers make is assuming that more fertilizer means more flowers. In reality, orchids usually respond better to small amounts of fertilizer applied consistently than to occasional heavy feeding.
Why Does a Small Amount Matter?
Many commonly grown orchids, especially Phalaenopsis, naturally grow in environments where nutrients are relatively diluted. Their roots aren’t adapted to being exposed to large concentrations of fertilizer.
A small dose provides nutrients without unnecessarily stressing the roots.
Key nutrients include:
- Nitrogen: supports leaves and overall vegetative growth.
- Phosphorus: contributes to healthy roots and reproductive growth.
- Potassium: supports overall plant function and helps maintain strong growth.
- Micronutrients: elements such as magnesium and iron are needed in much smaller quantities but are still important.
How Much Fertilizer Should You Use?
Always start with the fertilizer manufacturer’s recommended dilution for orchids. If you’re unsure, a weaker solution is generally safer than applying a concentrated mixture.
A common approach among orchid growers is “weakly, weekly”—using a diluted fertilizer regularly during active growth rather than giving the plant a large dose infrequently.
However, this doesn’t mean every orchid should be fertilized every week. Your plant’s species, growing medium, season, watering routine, and fertilizer formulation all matter.
Water Before Fertilizing
One useful precaution is to avoid applying concentrated fertilizer to completely dry roots.
Water the orchid normally first, allowing the roots and growing medium to become hydrated. Then apply the appropriately diluted fertilizer.
This can help reduce the risk of concentrated fertilizer salts coming into direct contact with dry roots.
Don’t Fertilize a Sick or Severely Stressed Orchid
If an orchid has serious root damage, severe dehydration, or another significant problem, fertilizer isn’t a cure.
Focus first on correcting the underlying issue—such as poor watering practices, inadequate drainage, root rot, or unsuitable light conditions.
Once the orchid begins actively recovering and producing healthy growth, gentle fertilization can support it.
Flush the Pot Occasionally
Fertilizer salts can accumulate in orchid potting media over time, particularly when fertilizer is used regularly.
Periodically watering thoroughly with plain water can help flush accumulated salts from the growing medium. Make sure the pot drains freely afterward.
Signs of excessive fertilizer accumulation may include brown or damaged root tips, crusty deposits on the potting medium, or leaf-tip damage, although these symptoms can have other causes too.
Light Matters Too
Fertilizer alone won’t make an orchid bloom.
An orchid needs appropriate light, watering, temperature, humidity, air circulation, and healthy roots to grow and flower successfully. If the plant doesn’t receive enough light, adding more fertilizer usually won’t solve the problem.
For many indoor Phalaenopsis orchids, bright indirect light is a good starting point. Avoid harsh, prolonged direct midday sunlight that can scorch the leaves.
The Golden Rule
When it comes to orchid fertilizer, more isn’t necessarily better.
A modest amount of appropriately diluted fertilizer, combined with good light and proper watering, can provide the nutrients an orchid needs without overwhelming its roots.
The goal isn’t to force your orchid to bloom—it is to create healthy growing conditions that allow the plant to produce flowers naturally.