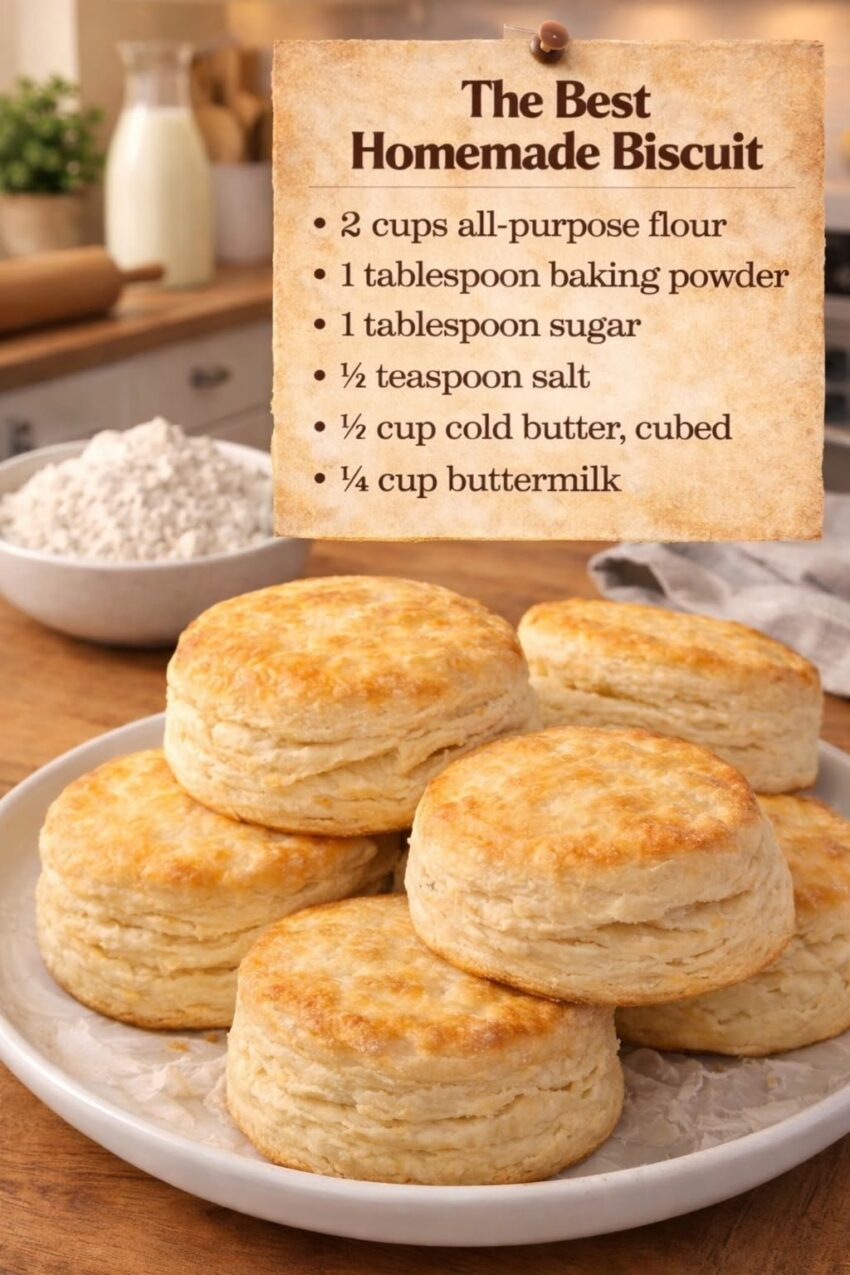
how to make golden, buttery homemade biscuits with soft centers and perfectly flaky layers. Discover the simple technique that makes these biscuits better than canned ones!
There’s something incredibly comforting about a warm, freshly baked biscuit. Golden and lightly crisp on the outside, tender and buttery in the middle, with delicate flaky layers that practically melt in your mouth.
And once you learn how easy homemade biscuits can be, you may never look at canned biscuits the same way again. 😍
The best part? You don’t need fancy equipment or complicated ingredients. The secret to those beautiful flaky layers comes down to one simple step that many people skip: keeping the butter very cold and creating layers in the dough before baking.
Why These Biscuits Are So Good
Store-bought biscuits can be convenient, but homemade biscuits have something special. You control the ingredients, the amount of butter, the texture, and—most importantly—the freshness.
These biscuits are:
- 🧈 Rich and buttery
- ✨ Golden and lightly crisp outside
- ☁️ Soft and tender inside
- 🥐 Full of flaky layers
- 🍯 Perfect with butter, honey or jam
- 🥣 Made with simple pantry ingredients
The texture comes from the combination of cold butter, gentle mixing and a few quick folds.
The Secret to Flaky Biscuit Layers
Here’s the trick: don’t completely blend the butter into the flour.
Instead, leave small pieces of cold butter throughout the dough.
When the biscuits go into the hot oven, those little pieces of butter melt and create pockets of steam. That steam helps separate the dough into tender, flaky layers.
For the best results, your butter should be very cold.
If your kitchen is warm, you can even place the cut butter in the refrigerator or freezer for a few minutes before using it.
Ingredients
You’ll need:
- 2 cups all-purpose flour
- 1 tablespoon baking powder
- 1 teaspoon salt
- 1 teaspoon sugar
- 6 tablespoons cold unsalted butter
- ¾ cup cold buttermilk, plus a little more if needed
For serving:
- Melted butter
- Honey
- Jam
- Gravy, if desired
How to Make Homemade Flaky Biscuits
1. Preheat the Oven
Preheat your oven to 425°F (220°C).
A hot oven is important because it helps the butter melt quickly and creates the steam needed for those beautiful layers.
If you’re using a baking sheet, you can line it with parchment paper.
2. Mix the Dry Ingredients
In a large bowl, whisk together the flour, baking powder, salt and sugar.
This distributes the baking powder evenly throughout the flour.
3. Add the Cold Butter
Cut the cold butter into small cubes and add it to the flour mixture.
Using a pastry cutter, fork or your fingertips, work the butter into the flour until you have a coarse mixture with small pieces of butter still visible.
Don’t overwork it.
Those visible pieces of butter are exactly what you’re looking for.
4. Add the Buttermilk
Pour in the cold buttermilk and gently stir until the dough just comes together.
The dough may look slightly rough or shaggy. That’s perfectly fine.
Don’t knead it like bread dough.
Overworking biscuit dough can develop too much gluten and make your biscuits tough instead of soft and tender.
5. Here’s the Important Step: Fold the Dough
Turn the dough onto a lightly floured surface.
Gently pat it into a rectangle.
Now fold the dough over itself, then gently pat it out again.
Repeat this process about 2–3 times.
This simple folding technique creates layers in the dough.
You don’t need to spend a lot of time doing it. Gentle and quick is best.
6. Cut the Biscuits
Pat the dough to approximately ¾-inch to 1-inch thick.
Use a biscuit cutter or round cookie cutter to cut the biscuits.
Press the cutter straight down rather than twisting it.
Twisting can seal the edges and prevent the biscuits from rising as well.
Place the biscuits close together on your prepared baking sheet.
For softer sides, place them so they’re touching.
For slightly crispier sides, leave a little space between them.
7. Bake Until Golden
Brush the tops lightly with buttermilk or melted butter if desired.
Place them in the hot oven and bake for approximately 12–15 minutes, or until the tops are beautifully golden brown.
Keep an eye on them because oven temperatures can vary.
8. Add Butter While They’re Hot
As soon as the biscuits come out of the oven, brush the tops with melted butter.
This gives them an irresistible buttery finish and keeps the crust deliciously tender.
Let them cool for a few minutes before serving—but don’t wait too long!
Fresh biscuits are at their best while they’re still warm.
Common Mistakes to Avoid
Using Warm Butter
This is probably the biggest mistake.
Warm butter blends too thoroughly into the flour instead of creating separate pockets.
Keep your butter cold.
Overmixing the Dough
The more you work the dough, the tougher the biscuits can become.
Mix just until the ingredients come together.
Adding Too Much Flour
A little stickiness is okay.
Adding lots of extra flour can make the biscuits dry and dense.
Use just enough flour to handle the dough.
Twisting the Biscuit Cutter
Press straight down and lift.
Twisting can compress the edges and interfere with the rise.
Skipping the Folding Step
The folds are what help create those beautiful layers.
Even just a couple of gentle folds can make a noticeable difference.
How to Serve Homemade Biscuits
These biscuits are incredibly versatile.
Serve them warm with:
🧈 Salted butter
🍯 Honey
🍓 Strawberry or raspberry jam
🍁 Maple syrup
🥚 Scrambled eggs
🥓 Crispy bacon
🍗 Fried chicken
🥣 Sausage gravy
They also make a wonderful base for breakfast sandwiches.
Can You Make the Dough Ahead of Time?
Yes!
You can prepare the biscuit dough, cut the biscuits and refrigerate them until you’re ready to bake.
Keeping the unbaked biscuits cold is actually helpful because it keeps the butter firm.
You can also freeze unbaked biscuits and bake them from frozen, adding a few extra minutes to the baking time.
How to Store Leftover Biscuits
Homemade biscuits are best fresh, but leftovers can be stored in an airtight container at room temperature for about a day or two.
For longer storage, refrigerate or freeze them.
To bring them back to life, warm them briefly in the oven rather than microwaving them for too long. This helps restore some of their crisp exterior and soft interior.
The Final Result
Once you pull these biscuits from the oven, you’ll understand why homemade is worth the little bit of extra effort.
They’re golden on the outside, soft and buttery inside, and filled with delicate layers.
And that simple technique—keeping the butter cold and folding the dough—is what makes such a big difference.
So the next time you’re tempted to grab a tube of canned biscuits, try making these instead.
You might just discover your new favorite breakfast recipe. ❤️
If you love homemade comfort food, save this recipe and share it with someone who loves warm, buttery biscuits! 😍